Put the Saddle to the Paddle
Aug 24, 2021
Cities are best explored by bike. I've always used my bike to get around Toronto, and particularly over the pandemic have leveraged it to discover the city's hidden gems and deeper cuts. And yet, as much as I have seen by road or trail, there is a part that has mostly eluded me: the waterways.
This summer I decided to change that. In the spring I invested in an inflatable packraft, and since then I've been able to explore a side to Toronto that I scarcely knew existed. I have visited inlets and tributaries, sighted bird species that I would never see inland, and — in a way that is hard to describe — shifted my spatial understanding of the city from road-lined grid, to complex network of rivers, roads, and ravines. Sometimes the road less travelled isn't even a road!
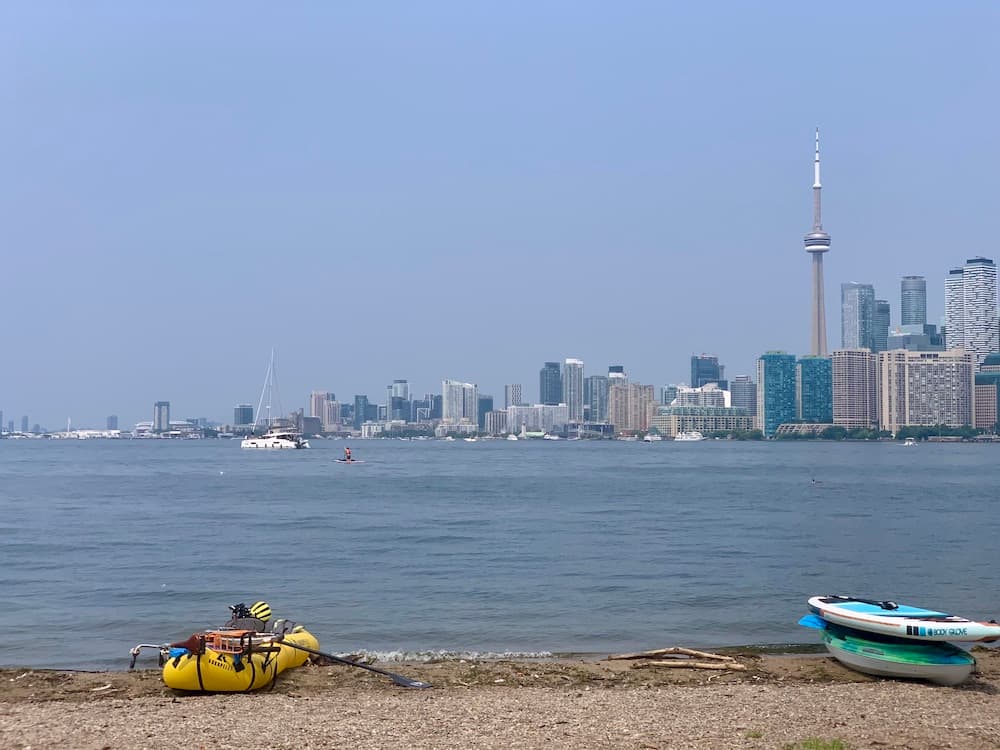
Perhaps best part of rafting is getting to the Toronto islands without the dang ferry!
I plan on sharing the details for these trips in future posts, but the thing I get asked most about is actually the setup. Most of my day trips have been by bike and boat; no car or rentals required! To the uninitiated this is known as bikerafting.
As you can tell, bikerafting is just a generic term for bike + raft. There are many ways to do it, and the method I've detailed below is just what works for me. If you're interested in bikerafting, I encourage you to start with whatever equipment you already own (assuming it's safe) and work off of that!
The packraft
The best gear for any new activity is usually the gear you already own. However, when it comes to bikerafting, you need to start with safety. As with many water sports, there is a degree of risk associated with packrafting, and this can be compounded when you are hauling heavy (and sharp) bikes.
For my packrafting setup I went with a Kokopelli Twain. The Twain is a two-seater with a carrying capacity of 600 lbs. It has a 6 point “D-ring” system, which you can use to tie gear onto the boat, as well as a waterproof compartment inside the pontoon for keeping valuables dry. Most importantly, this packraft is made from a sturdy Kevlar material, and explicitly targeted towards bikerafters. The Twain comes with 4 compression straps, but you will also want a few extras if you plan on mounting a bike.
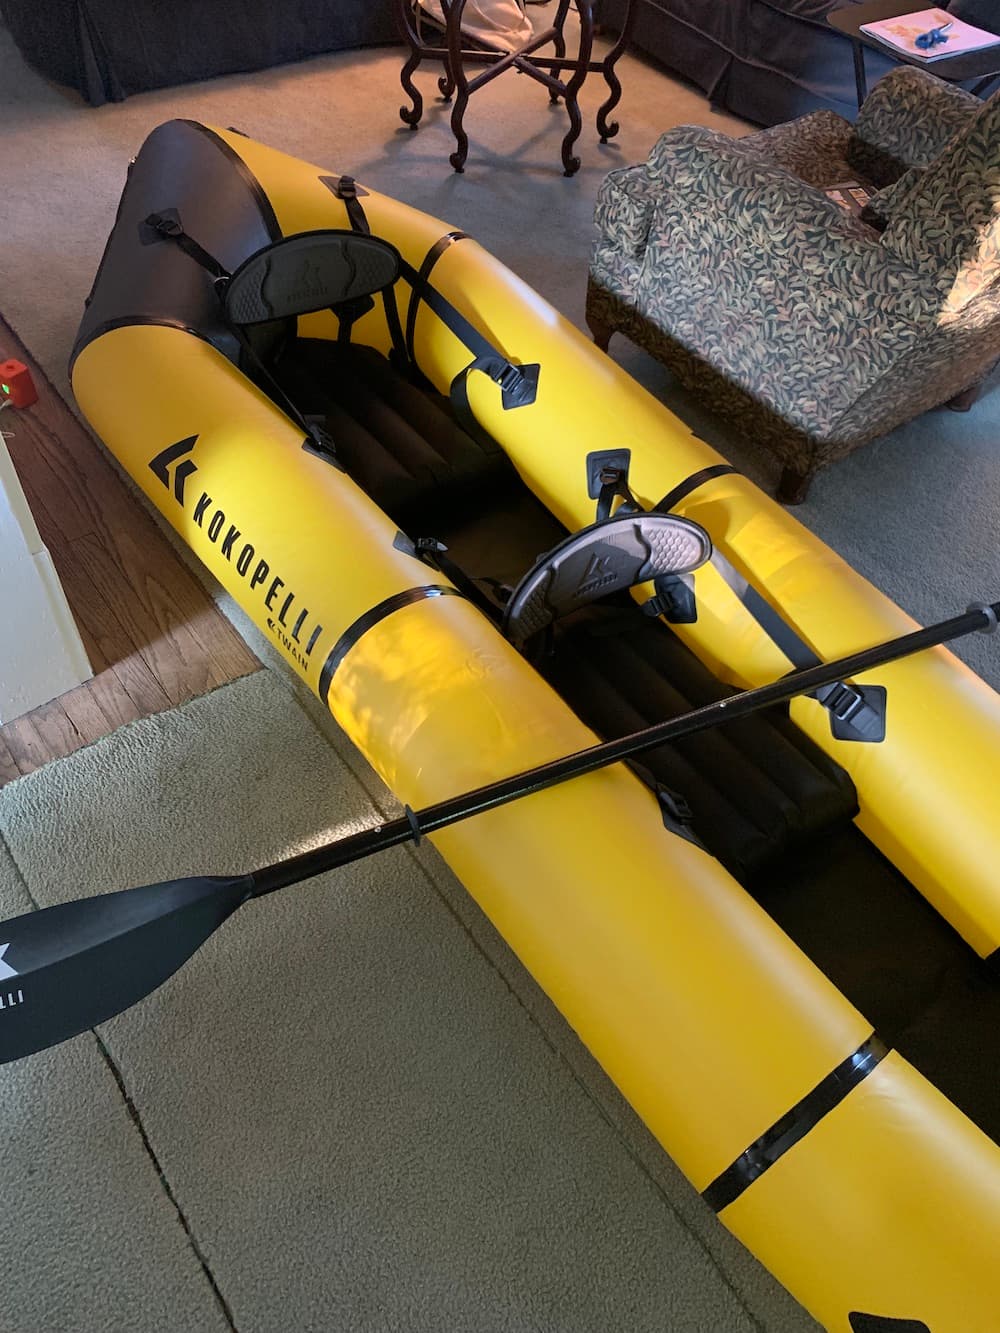
The Kokopelli when it was brand new, inflated in my parents' living room.
The wonderful thing about packrafts is that they, well, pack. The Twain is about the size of a sleeping bag when it is rolled up. This makes it ideal for storing at home, or carrying on a bike. Similarly, the paddles (also sold by Kokopelli) are collapsible, and bundle into a reasonably compact size.
For life jackets I opted for the Mustang 100 inflatable PFD. For me, this jacket is a good fit because of the gentle nature of the waterbodies on which I've been rafting. Because it is inflatable, it doesn't take up a lot of room and is easy to transport. (All that being said, if you are looking for a PFD I strongly encourage you to do your own research and find one suitable to your activity.)
Finally, I also purchased a Kokopelli Feather Pump. This is purely for convenience, but it makes filling up the raft a breeze!
The bike(s)
For the last year I have been obsessed with my Brompton. I could write a whole post on Bromptons alone, but the TL;DR is that they are ultracompact folding bicycles. Unlike most folding bikes that fold at one or two hinge points, the Brompton folds at three. The result is a relatively small form factor that makes it ideal for quickly loading and unloading from a packraft. In fact it is so small that I've been able to throw two Brampton's on the raft!
A common misconception is the Brompton's small size makes it unsuitable for carrying gear. On the contrary, the 16” wheels provide amble space above the wheel where a 700C wheel would not. I've found this is also ideal for weight distribution as the cargo is aligned with the bike' primary axis, while panniers should ideally be balanced on the sides of the bike.
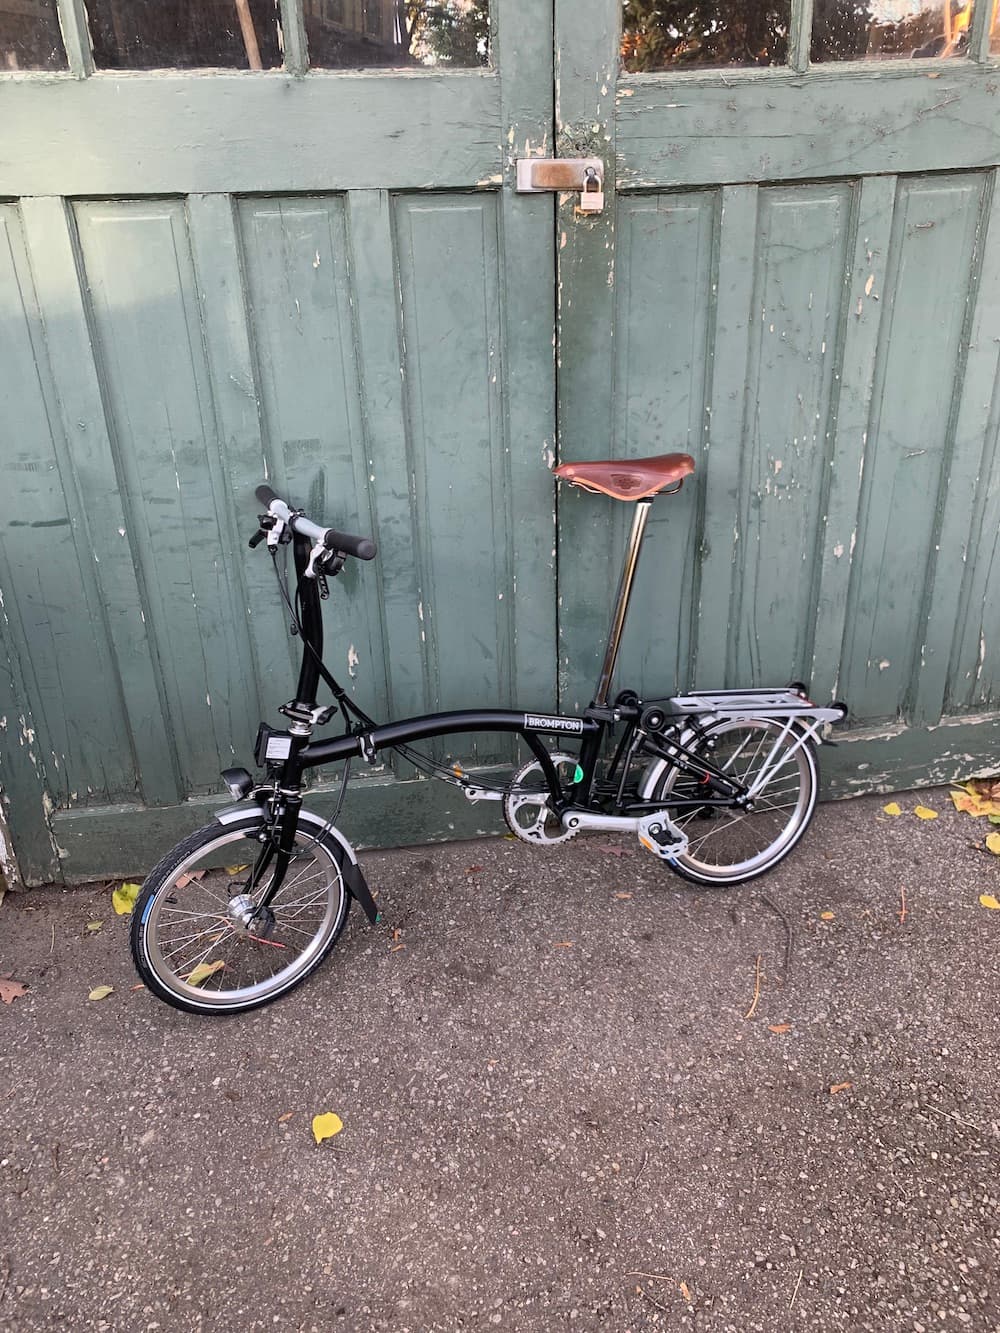
The "Brommy" before I punished it through a Canadian winter.
Bromptons come with a proprietary front block that is handy for mounting bags. The largest bag they offer, the Borough bag, has a 28L capacity and can carry almost as much as the back rack.
While this setup has worked well for me, you could theoretically bring any bike on the packraft. This might involve a little more work, as you would need to remove the non-drive pedal, the front wheel, and possibly the back wheel.
Putting it all together
Any given trip begins with loading up the Brompton with the packraft and accessories. I've found that the raft itself fits nicely on the back rack, and can be held in place with two compression straps. The Brompton rack elastics can also come in handy.
Everything else goes on the front of the bike. The collapsed paddles don't quite fit in the Borough bag, so can be strapped on top instead. It takes about 5 minutes to load up the bike.
Riding with the loaded bike is comfortable and responsive, if slightly sluggish. (But then, why would you be in a hurry?) I've ridden this way for 10 minutes to the nearest beach, or for 2 hours to a more distant launch site. Either way it hasn't been an issue.
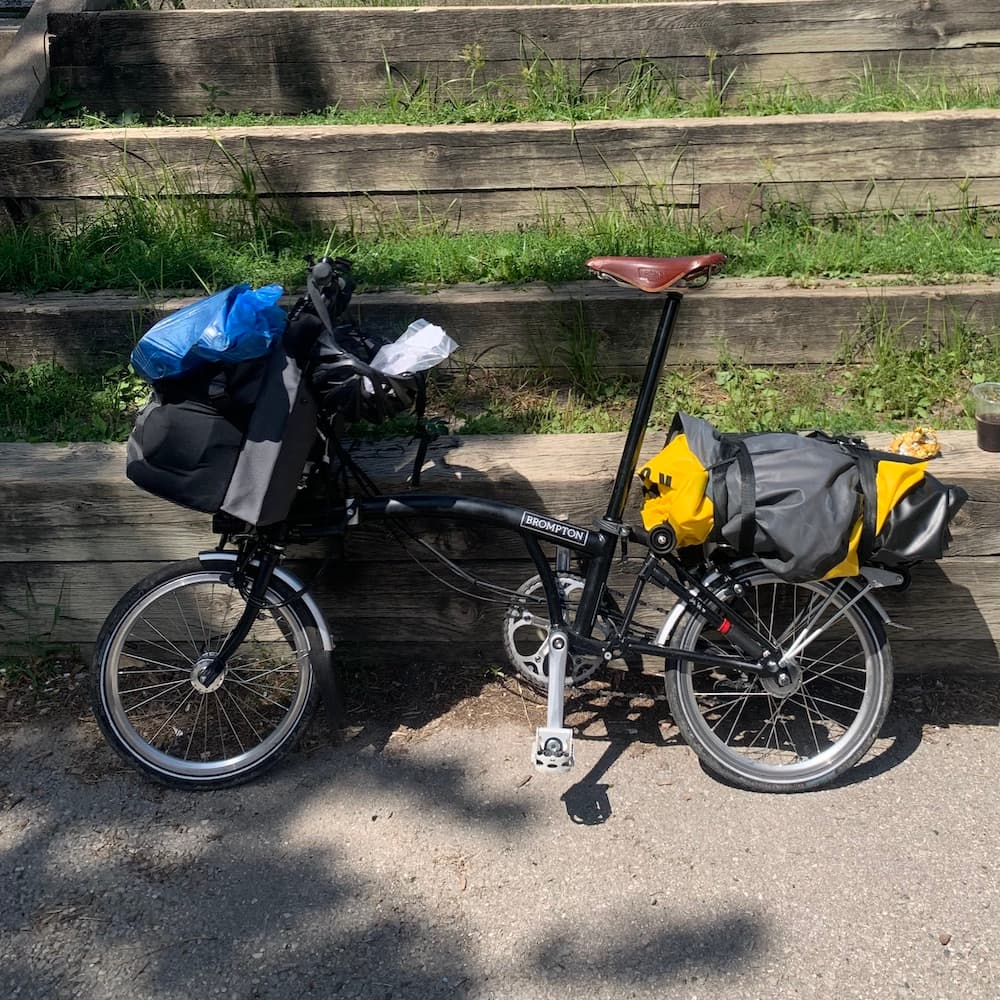
The Brompton with the packraft and gear.
Once at your launch site it's a matter of setting up the packraft and loading it up. There isn't anything special going on here until it comes time to loading the bike(s). The first bike can be lashed to the bow using the compression straps. Again the Brompton comes in handy here because the non-drive pedal folds in, and thus can reduce friction on the boat.
Bringing two bikes is really only possible with this setup if the second bike is a Brompton (though I've sure some other fold-up bikes would work too)! I've found that the Brompton can sit in the middle of the raft between the two paddlers. It's a tight fit! But I've still managed to pull this off with my brother and I; we are 6'3” and 6'0”, respectively.
Loading the boat takes around 20 - 30 minutes. (For me it took closer to 30 since my brother is useless). With the bikes loaded and lashed down, it's time to paddle!
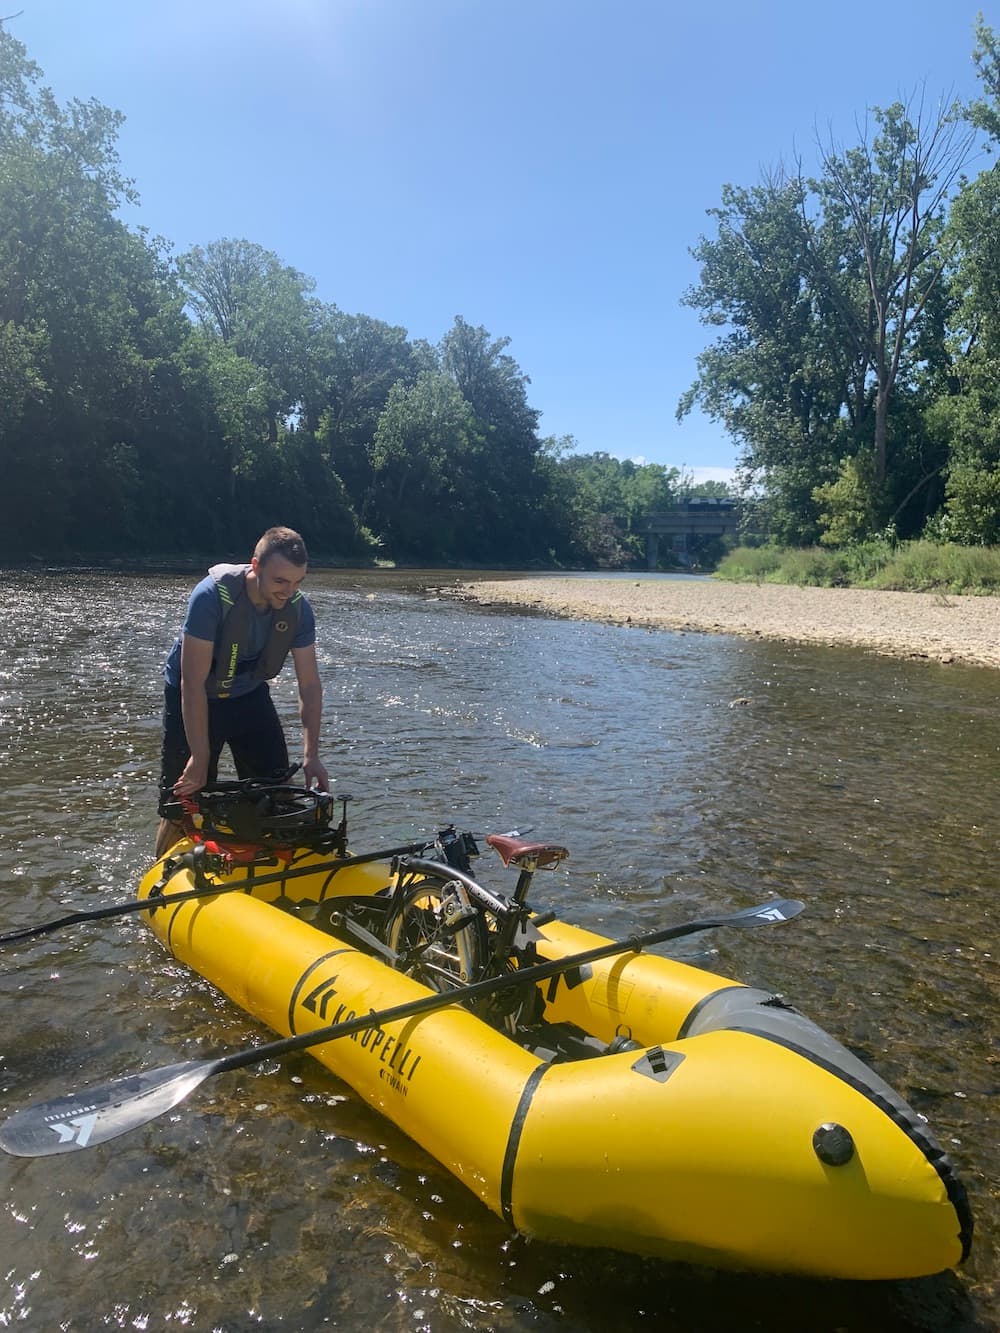
Kokopelli loaded with two Bromptons. Dingus for scale.
Paddling is pretty much the same as in a tandem kayak, except there is less space. The person in the back will want to keep their legs on either side of the middle bike, and have their back directly against the rear inner-wall. The shorter paddler should be in front, as they will have slightly less leg room.
Once you settle in, this setup is reasonably comfortable all things considered. I can paddle this way for a few hours at a time without complaint, but there is room for improvement. Eventually I would like to try strapping the second bike to the back of the packraft, but for my boat this would involve adding more D-rings.
A new world to explore
The freedom to get out on the water — all without needing a car — is liberating. Indeed, with a car most trips end where they started: at the parking lot. But with this setup, trips can take on a new degree of flexibility; you can start in one place, and end somewhere completely different. It's also a bonus when your return trip doesn't involve getting stuck in Toronto traffic!